Note: Custom Dashboards are only visible when activated in the configuration.
Create a Custom Dashboard (Note: option available depending on your role)
Step 1. Navigate to the tab Portfolio Management.
Step 2. In the section Custom Dashboards, click ![]() , a dialogue box appears
, a dialogue box appears
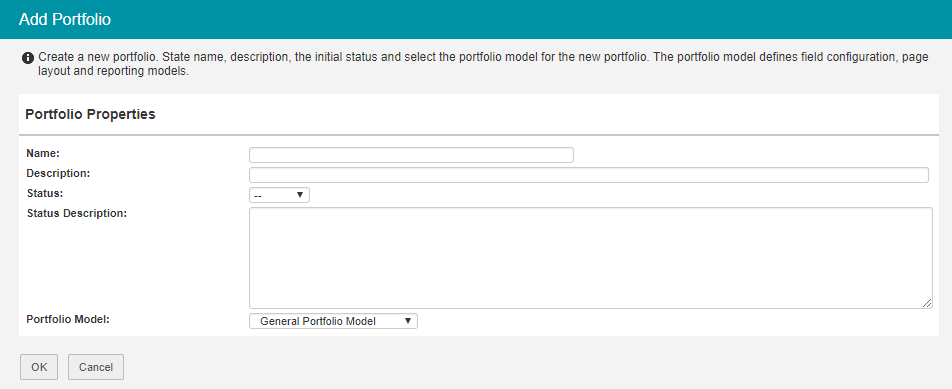
Step 3. Fill in the dialogue and click OK.

Dialogue box create a Custom Dashboard
Step 4. To define which projects are shown in this Custom Dashboard click Set Dashboard Filter, a dialogue box appears.

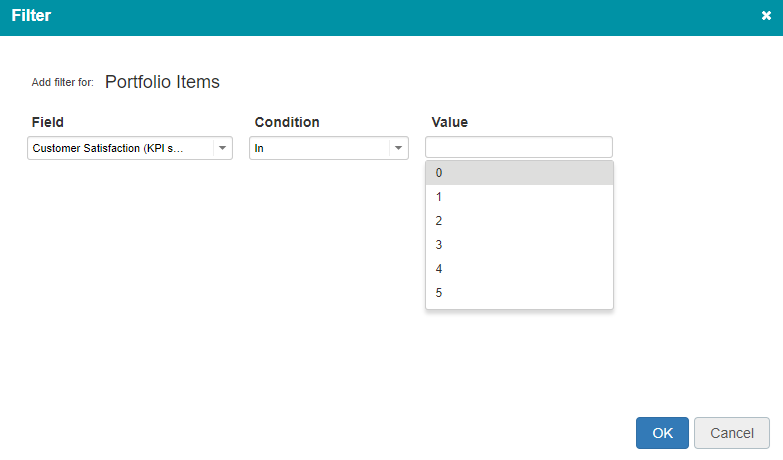
Dialogue box Set Dashboard Filter
Step 5. In the dialogue box define the filter(s) to show the correct set of projects, click OK.
Step 6. Click Edit Roles to give users access to the Custom Dashboard. See Working with roles.
Archive a custom dashboard (Note: option available depending on your role)
Step 1. Navigate to the tab Portfolio Management.
Step 2. In the section Custom Dashboards, select a Custom Dashboard row and click Archive, a pop-up appears.
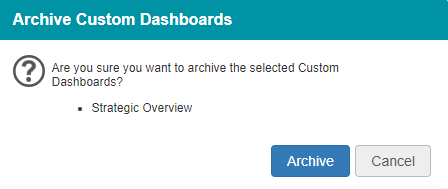
Step 3. In the pop-up click Archive, the Custom Dashboard is now moved to the tab Archive.

Dialogue box archive a Custom Dashboard